Getting Started with BusinessLocator
Some mini-tutorials to show you around the platform.
Basemaps
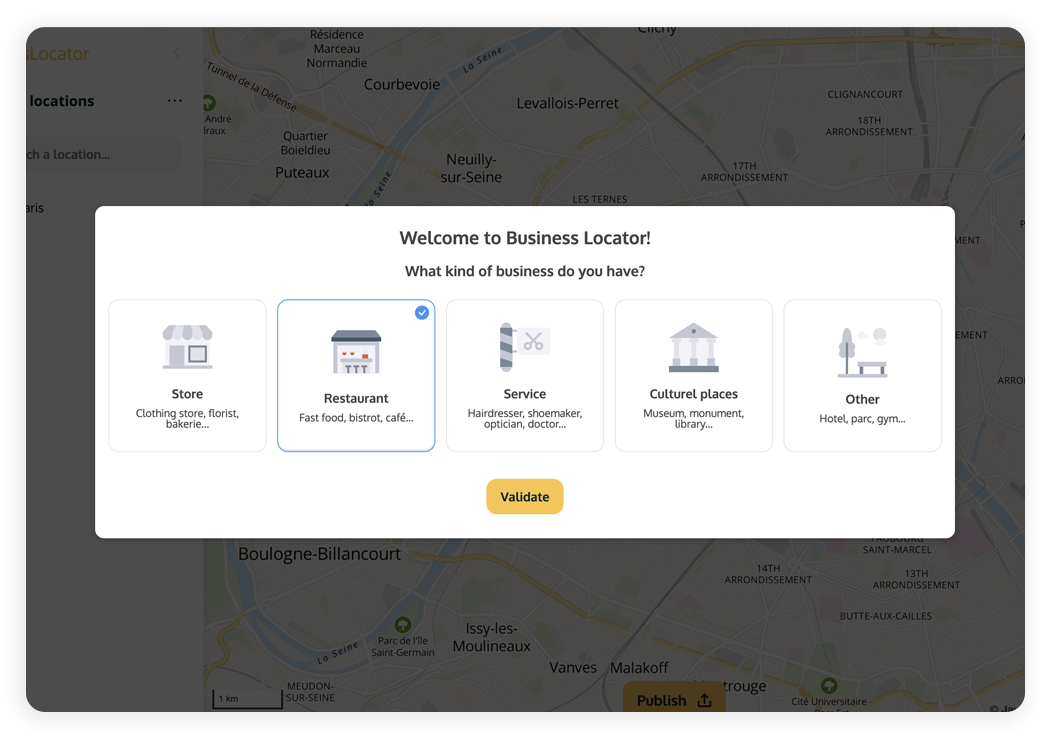
First step: choose your type of business
When you first log in to your BusinessLocator account, you will be able to choose the type of your business:
- Store
- Restaurant
- Service
- Cultural places
- Other
This will enable certain properties that are specific to these types (like delivery for shops or restaurants).
SECTION: BUSINESS LOCATIONS
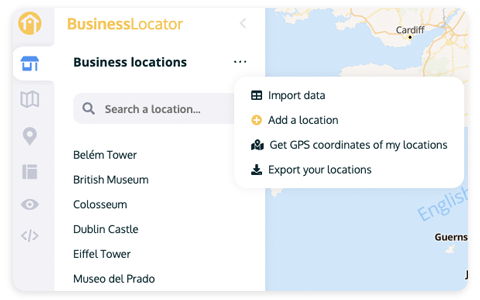
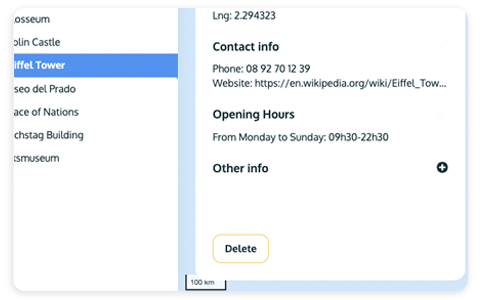
Add a location
Click on the ellipsis next to Business locations.
Select the Add a location option.
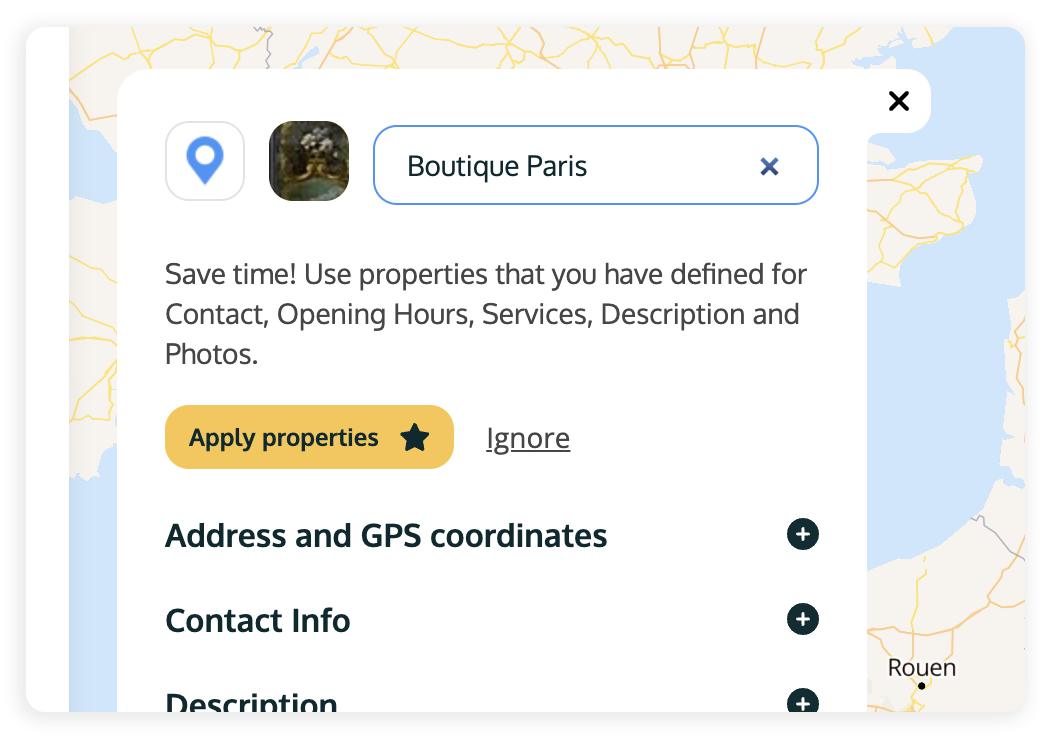
Add a name, then click on the ➕ sign for the Address field.
You can either search for the address in the Search field or input it manually. Hit Save.
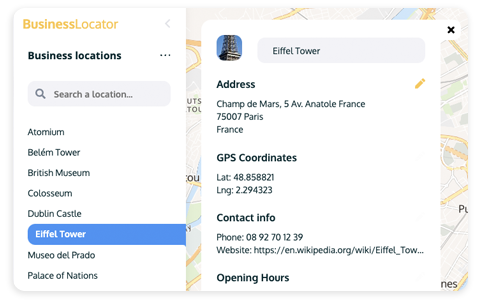
Fill in the other fields like phone, image URL, opening hours etc.
Save this new location by clicking the Add button.
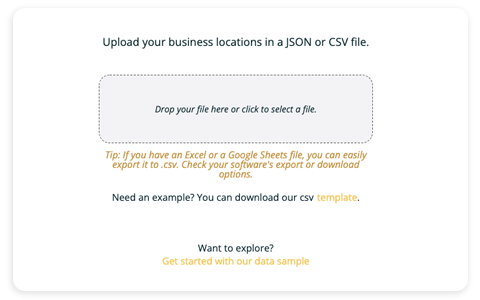
Import several locations
Click on the ellipsis next to Business locations.
Select the Import data option.
Select the file to upload (it should be a CSV or JSON file).
Check the data in the table and click Import.
Confirm that you want to replace any existing data by clicking Validate.
Recommended: in your file, include a Name column for your locations. If you don't have a particular name for them, you can put the name of your business + city / street so it's easier for your customers to differentiate the locations.
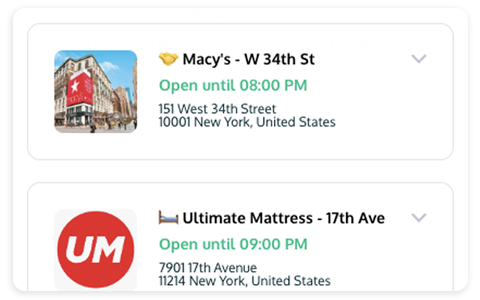
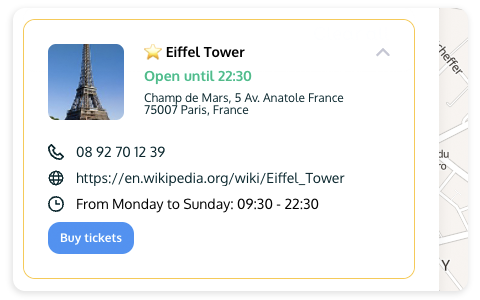
Feature a location
By putting an emoji at the beginning of the location name, it will feature the location at the top of the list.
For example, if you want to feature your headquarters, you can add a star ⭐️.
You can also add an emoji in the middle or at the end of the name to categorise your locations. For example, to list and differentiate your resellers 🤝.
Select available services
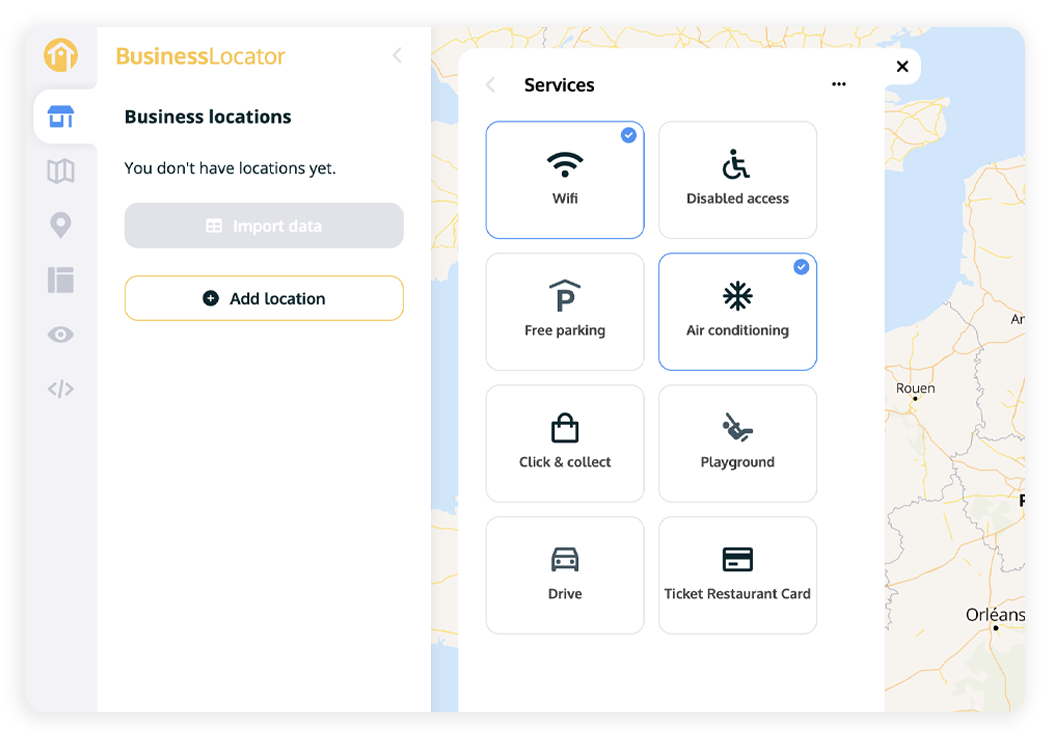
In the editing panel of one of the points of sale, click on the Services “+” button.
Click on the services offered by this establishment, such as: Wifi, Disabled Access, Free Parking, Air conditioning, Click & Collect, Playground, Drive or even the possibility to pay with Restaurant Tickets.
Those enabled will have a check mark at the top right.
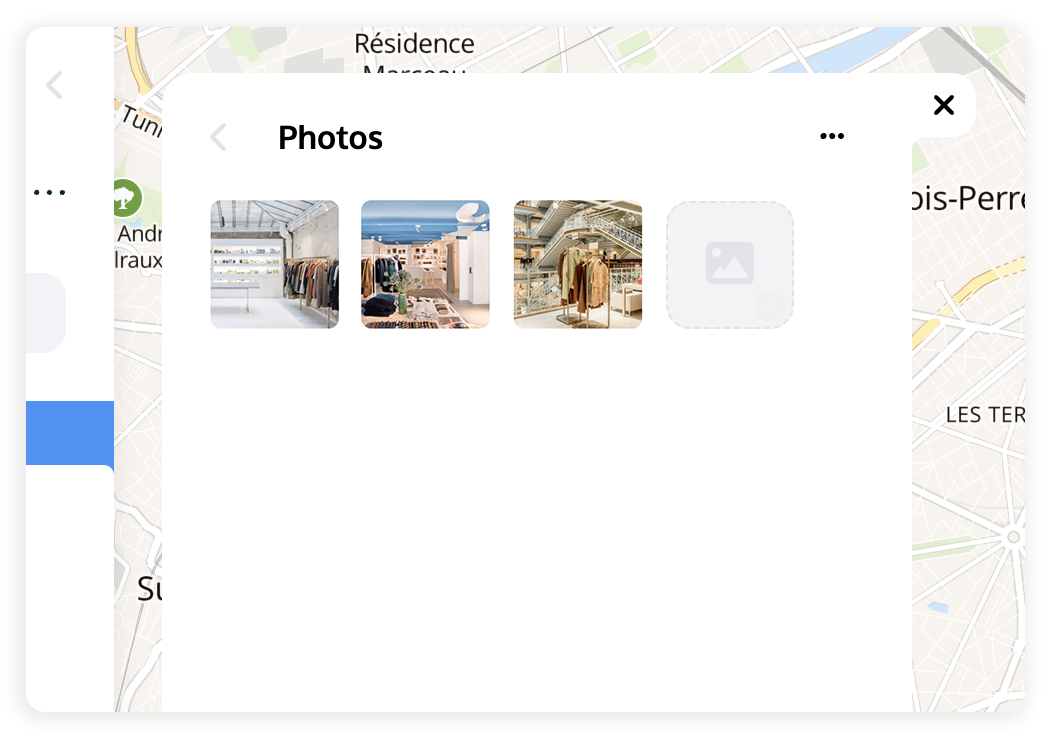
Add a photo gallery
In the editing panel of one of the business locations, click on the Photos "+" button.
Click on the Image icon to fill out the URL of the photo to display.
(It must already be hosted somewhere.)
Each location can display different photos. You can take advantage of this to show products or services specific to this location.
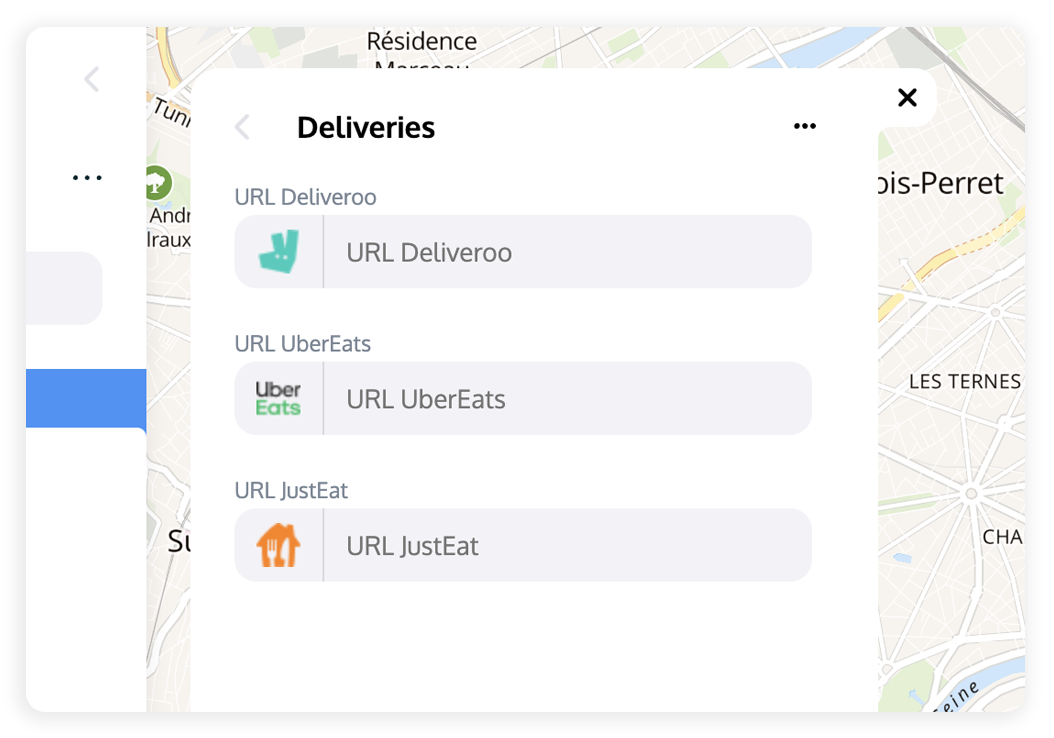
Link to delivery services
In the editing panel of one of the business locations, click on the Delivery “+” button.
If you deliver via Deliveroo, UberEats or JustEat, you can provide each location's links to the appropriate order page.
This property is only visible if you have chosen the following business types: Store and Restaurant.
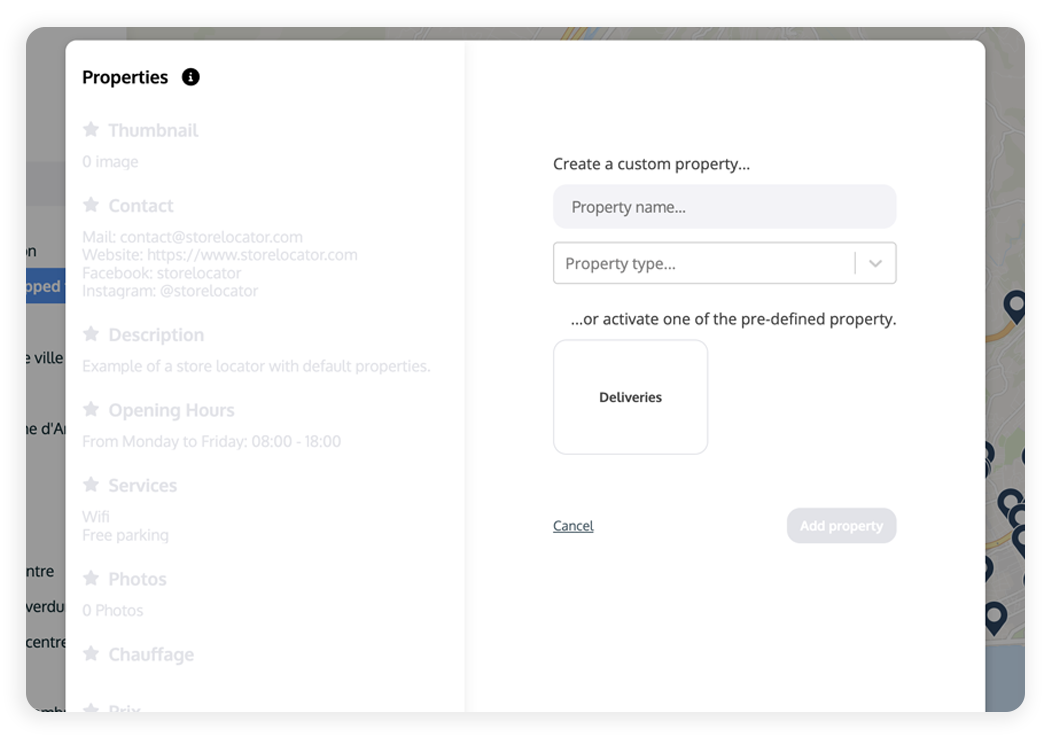
Add custom fields
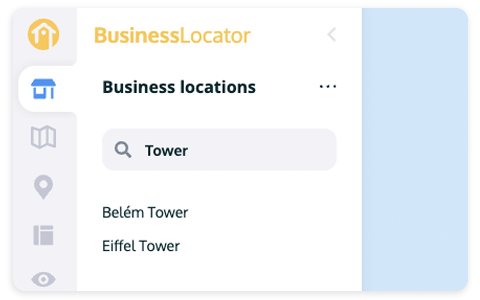
In the Business Locations section, click on the three small dots above the search bar.
Click Edit Properties, then click the Add Property button.
You can create the following fields:
- Text: add any body of text to individual locations (like a description, special offers, etc.)
- Multiple choice: add several options to tick/untick per location (like a list of amenities, price ranges etc.)
- Checkbox: add true/false options to your locations (like whether if offers Free Parking, if it's open 24/7, etc.)
- Button (see more details below)
Or activate a pre-defined property.
SECTION: BASEMAPS
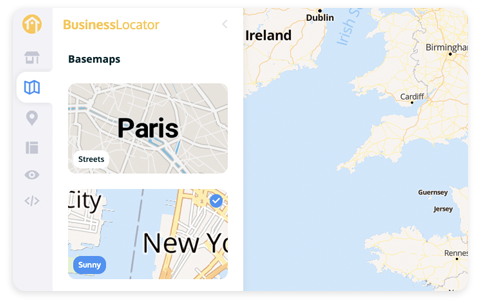
Select a map style
Click through the different map styles to preview what it looks like with your locations.
You can zoom in and out to see the differences: roads, parks and water colour, elevation lines, icons...
You can choose from five default basemaps:
- Streets: a style with contrasting and bold colors for a unique look.
- Sunny: a more traditional design that looks good anywhere.
- Terrain: showing elevation levels for more nature-oriented needs.
- Light: a neutral, clean design to let your businesses stand out on the map.
- Dark: a striking and contrasting design to catch your visitors' eye.
SECTION: CUSTOMIZE YOUR MARKERS
Customize markers for each location
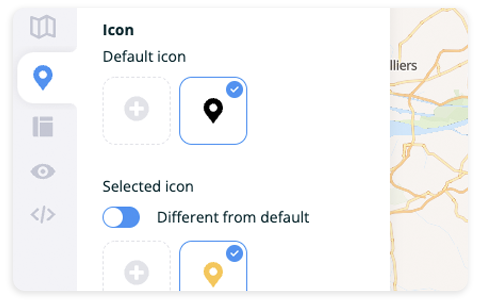
In the editing panel of one of the locations, click on the icon at the top left.
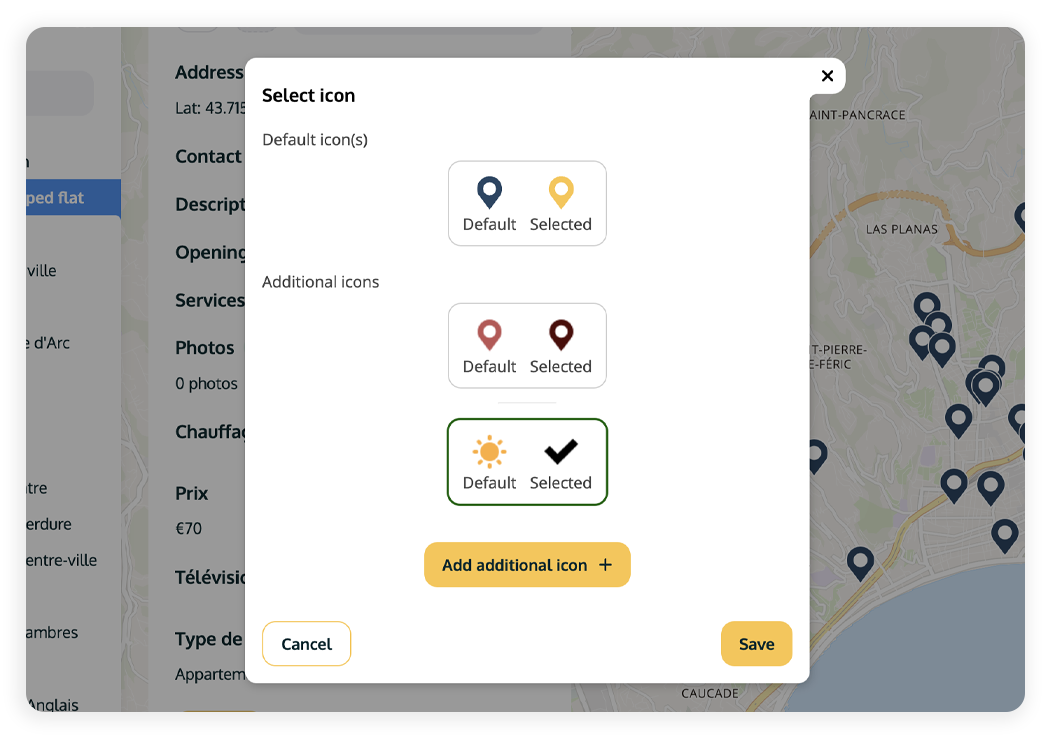
Choose the icon set you want to use: the default one or a custom set.
To add a new icon set, click the Add additional icon button.
Choose new colors or upload your image in SVG format (recommended max width: 50px).
Choose the Anchor for the icon (how it will be centered on the marker location).
Click Import then Save.
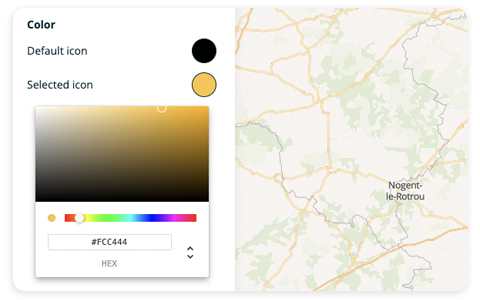
Change pin & dot colours
Click on the Default icon or Selected icon button on the right.
Select the desired colour or input the colour code in the HEX/RGB/HSL fields.
Click the button again to save and close the colour editor.
Changing these colours will impact the marker and the matching dot.
Note: you cannot change the colour of your markers if you have uploaded a custom icon.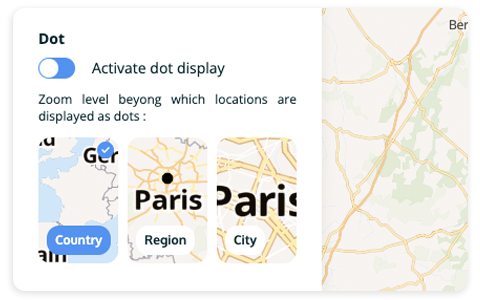
Activate dot display
For a better user experience and depending on your point density, you can simplify your icon to a dot when a visitor zooms out.
Click on the Activate dot display toggle to activate/deactivate this feature.
You can control at which level you would like this to trigger: Country, Region or City.
SECTION: LAYOUT
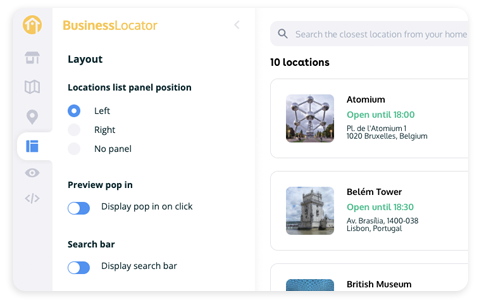
Select your desired layout
In this section you can choose to customise your layout by:
- Changing where the locations list panel appears
- Displaying a pop in when a location is clicked
- Displaying a search bar to enable your users to search for your nearest locations
This can be very handy to optimise your website experience for your visitors.
SECTION: PREVIEW
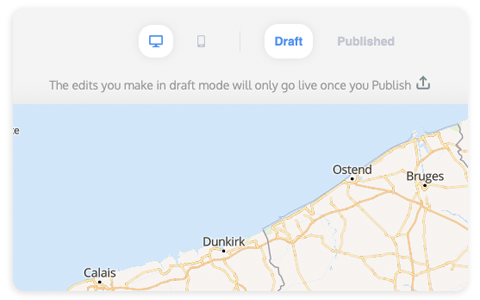
Preview and publish your business locator
Draft version
This is how your business locator looks like with the latest edits made in the editor. If you're happy with the changes, hit the Publish button to make them live!
Published version
This is how your "live" business locator looks like and the version your visitors will see on your website.
SECTION: INSTALL IFRAME
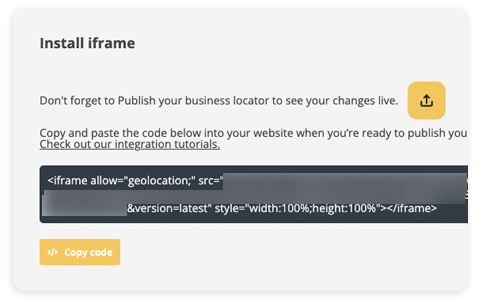
Embed the code on your website
Copy-paste the code on your website to integrate your business locator.
Need help with the integration? Check out our integration tutorials.
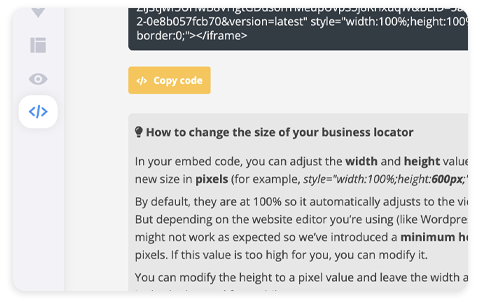
Change the size of your business locator
In your embed code, you can adjust the width and height values by indicating a new size in pixels. For example:
style="width:100%;height:600px;"
You will find more instructions on how to modify the size of your business locator in the Install iframe section of the app.
